
How to change the quality of a YouTube video
Is a video blurry, or do you want to save mobile data? You can change the quality of a YouTube video at any time during playback. Here's how to do it, step by step.
Prefer a video? Watch the full tutorial below.
Changing the quality of a YouTube video, step by step
Start the video
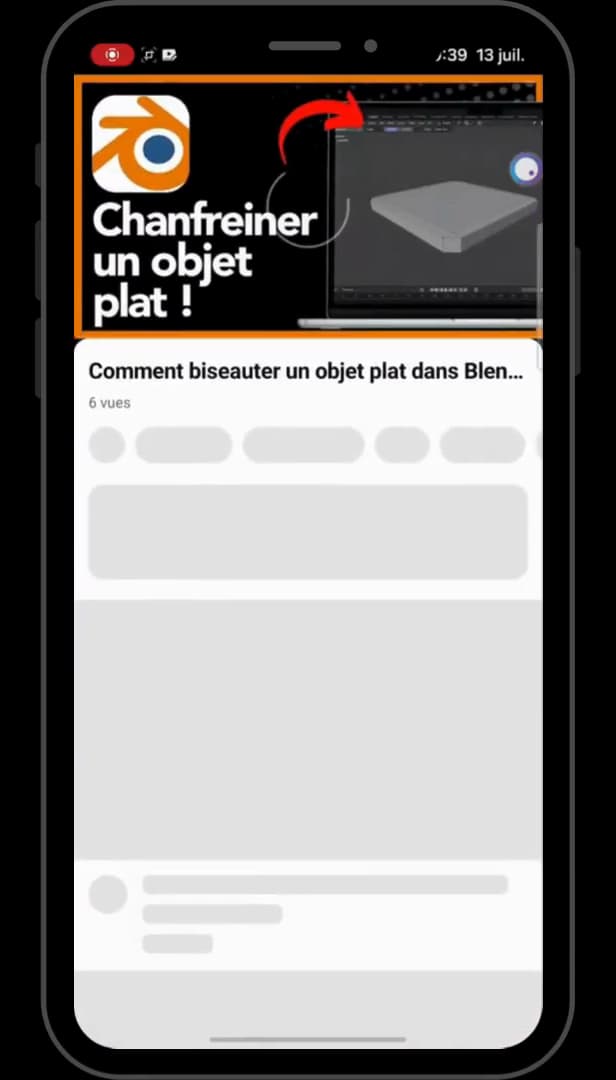
The "⋮" menu gives you access to the quality settings. Open the video and tap it to show the controls, then tap "⋮".
Open "Quality"
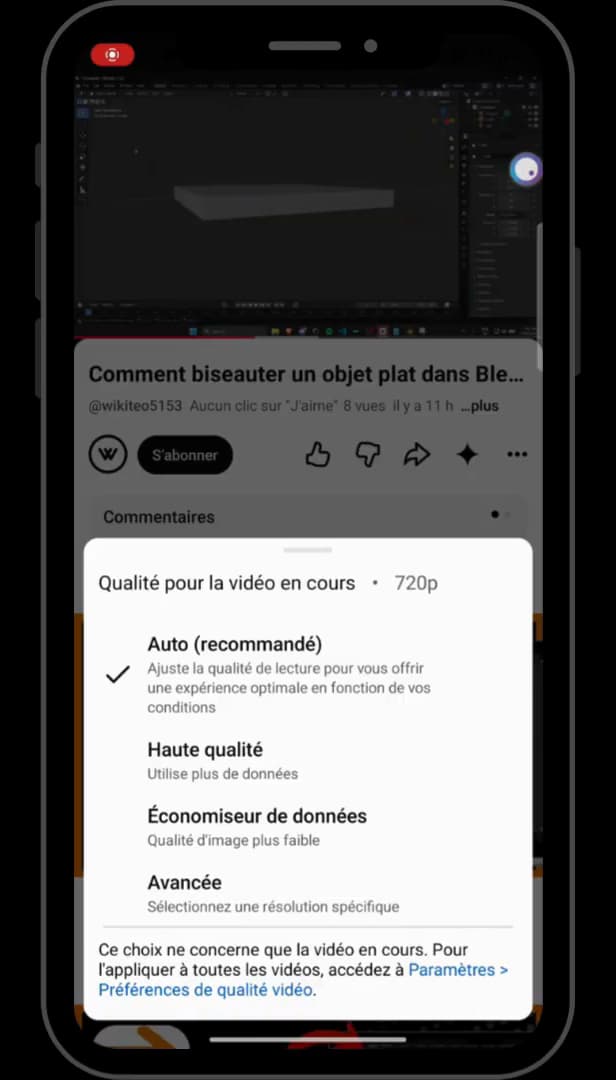
"Quality" lets you force a specific resolution. Tap "Quality": choose "Auto", "Higher picture quality", "Data saver" or "Advanced".
Choose the resolution
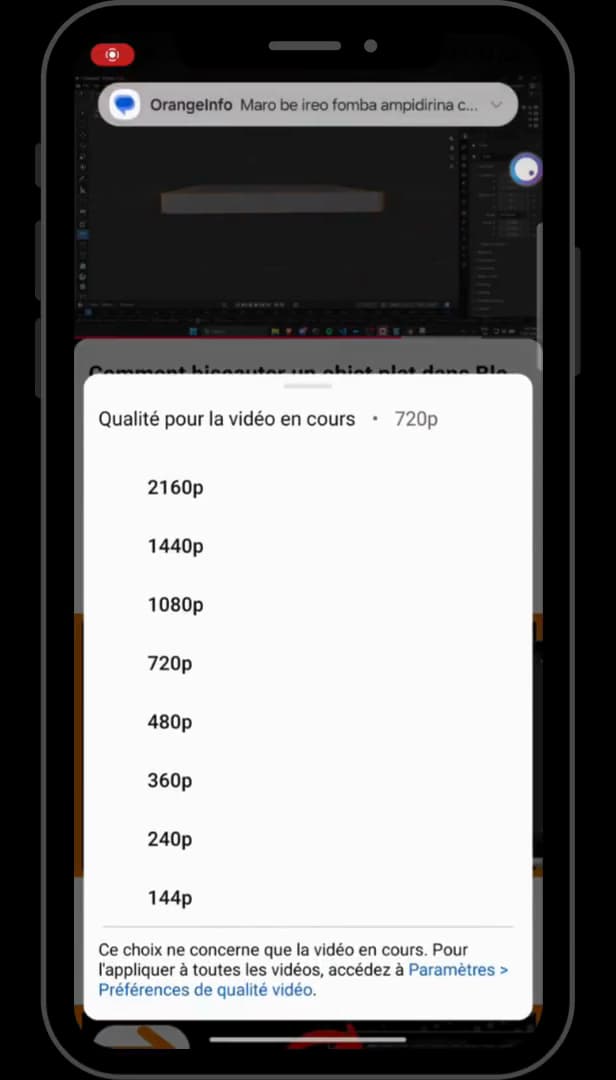
Select "1080p" for the sharpest available picture. Under "Advanced", select the resolution you want (1080p, 720p, 480p, etc.).
Good to know
The video instantly switches to the "chosen resolution". "Auto" adapts the quality to your connection; "Advanced" lets you lock in a specific resolution.
Good to know
- "Data saver" lowers the quality to preserve your "mobile data".
- The maximum resolution depends on the "original video" and your screen.
- The setting applies to "the current video"; set the default in the app's settings.
Frequently asked questions
- Why can't I set 1080p?
- The maximum resolution depends on the original video: if it wasn't uploaded in 1080p, that option doesn't appear.
- Does the setting stay active for other videos?
- By default, it applies to the current video. You can set a global preference under Settings › Video quality.
- How do I save mobile data?
- Choose "Data saver" or a low resolution (480p, 360p): the video then uses far less data.
Related tutorials
 YouTubeHow to Download a YouTube VideoWant to watch a YouTube video offline? Here's how to download it using YouTube's official feature, step by step.
 YouTubeHow to delete your search history on YouTubeWant to clear your searches and watched videos on YouTube? Here's how to delete your history, step by step.
 YouTubeHow to Find Your YouTube Channel LinkWant to share your YouTube channel link? Here's how to copy it, step by step.
 YouTubeHow to Stop Seeing a YouTube ChannelA YouTube channel bothering you? Here's how to hide it and stop it being recommended, step by step.