
How to Create a PDF from the Files App on iPhone
Need to send an image as a document? You can create a PDF on iPhone with no app at all, right from the Files app. Here's how to convert one or more images into a PDF, step by step.
Prefer a video? Watch the full tutorial below.
Creating a PDF from Files on iPhone, step by step
Select the image or images

Select one or more images in the Files app. Open the "Files" app, go to the folder with your images, tap "Select", then check the "images" you want to convert.
Long-press, then "Create PDF"
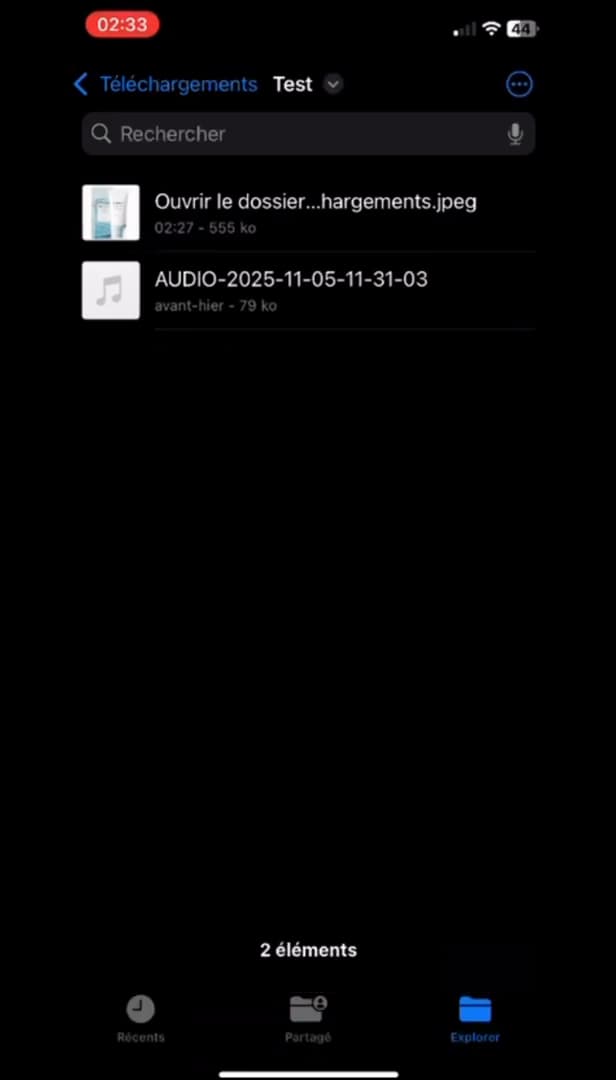
The "Create PDF" option is in the selection's menu. "Long-press" the selection (or tap "…"). In the menu, choose "Create PDF".
Find your PDF
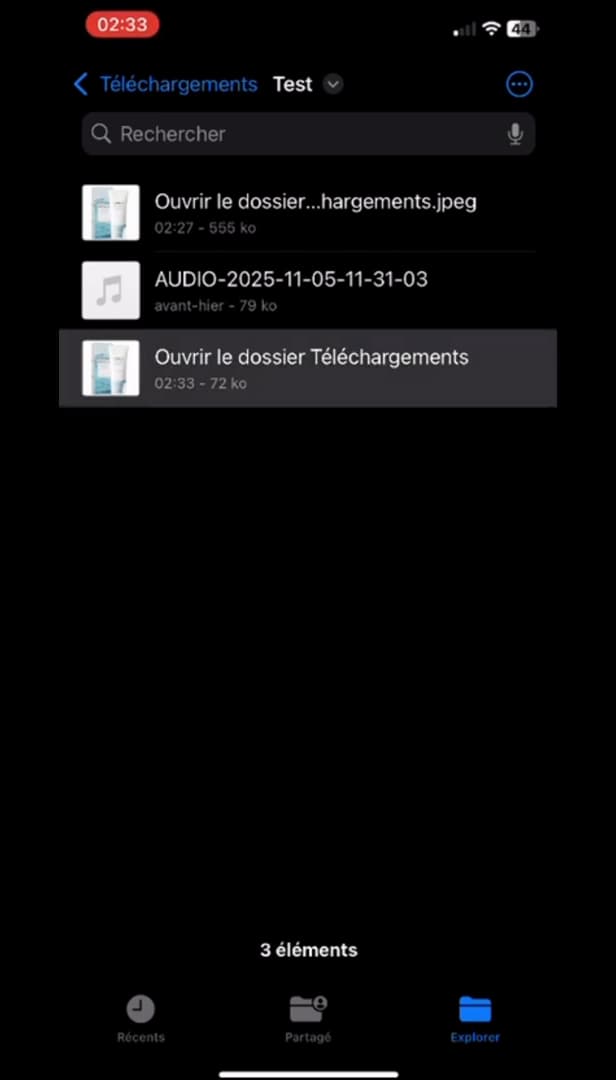
The PDF appears in the folder, ready to share. A "PDF file" is created right away in the same folder. If you picked several images, they become the PDF's pages, in order.
Good to know
Your PDF is ready, with no software or subscription. You can "rename" it, "share" it by email or messaging, or annotate it right from Files.
Good to know
- Select "multiple images" to get a multi-page PDF, in the order you selected them.
- The PDF is created "in the same folder" as the original images.
- You can also create a PDF from the "Photos" app by sharing it, choosing "Print", then pinching the preview.
Frequently asked questions
- Do I need an app to create a PDF?
- No. The Files app, built into iOS, creates the PDF natively via the "Create PDF" option.
- Can I combine several images into a single PDF?
- Yes. Select all the images you want before "Create PDF": each image becomes a page, in the order you selected them.
- Where is the PDF saved?
- In the same folder as the original images. You can then move it or share it.
Related tutorials
 iPhoneHow to turn off read receipts on iPhoneDon't want to send read receipts in Messages anymore? Here's how to turn them off, step by step.
 iPhoneHow to Disable Call Forwarding on iPhoneAre your calls being forwarded to another number? Here's how to turn off call forwarding on iPhone, step by step.
 iPhoneHow to Block Spam Calls on iPhoneTired of unwanted calls? Here's how to block spam calls on iPhone using Silence Unknown Callers, step by step.
 iPhoneHow to Change Your App Store Region on iPhoneWant to access apps from another country? Here's how to change your App Store region on iPhone, step by step.